
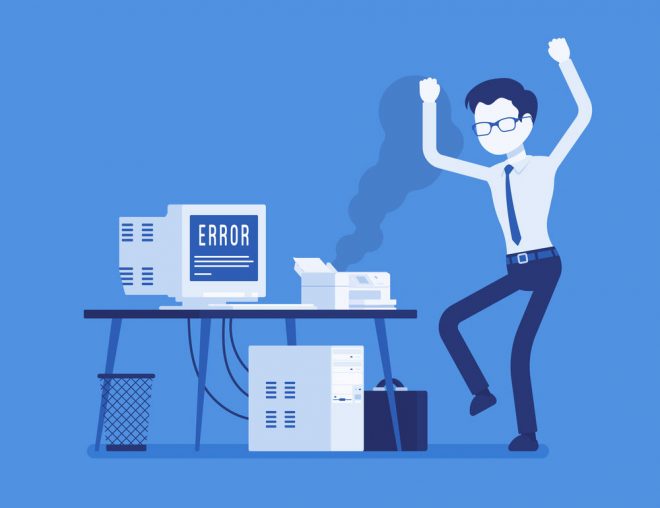
If you’re here, it means that you’ve likely encountered a dreaded pop-up on your computer screen that reads “Printer Error.” You may have received a specific error code or a general notification that an unknown error has occurred. Either way, an error pop-up, although alarming, is no reason to panic!
This post will outline what may have triggered a printer error and the easy steps you can take to fix it.
Contents
What Causes a Printer Error State?
If your printer is in an error state, it means that, for some reason, your printer is unable to respond to your requests. A printer can end up in an error state thanks to any number of issues. Some of the most common problems include:
- Cables and wires that are not properly connected (or are no longer working correctly)
- Corrupted printer drivers
- Lack of an internet connection
- Malware or virus attack
- Recent computer upgrades
When one of these errors occurs, it disrupts the communication between your computer and printer and forces your printer into an error state. Luckily, with the help of several easy troubleshooting steps (below), it is usually possible to reset your printer connection and ultimately resolve the error.
Solutions for a Printer in Error State
If your computer/printer enters an error state, you don’t always need to take it in for repair. Most error states can be solved quickly, at home, using one (or more) of these seven solutions:
1. Start with the Basics: Cables and Cartridges
A printer can often enter an error state thanks to something as simple as an unplugged cable or misaligned cartridge. Simple physical malfunctions are the easiest to fix and typically the ones we tend to overlook.
Before going further, take a moment to check on the physical status of your printer. Ensure that all cables and power cords are properly connected and do not have any noticeable cuts or bends that may be impacting their function. If your printer is connected to the internet via an Ethernet cable, ensure that the cable is attached to an active Ethernet port. If you have any doubts, try connecting cords to comparable/alternative sockets (such as on a router) or testing other cords from a known working device.
Check that there is paper in the paper tray and that the printer is not suffering from a paper jam. Ensure that the printer ink cartridges are all properly installed and contain ink. This can be checked using a printer test page.
2. Restart Your Devices
This is a tried and true solution with all sorts of electronic devices because the reboot process is typically designed to address any error states that may be present. To restart your printer, turn your printer off, unplug the power cord, and let it sit for at least 30 seconds. Plug your printer back in and turn the printer back on.
To restart your computer, you want to ensure you are doing a full restart, not just placing it in sleep mode and then waking it up.
3. Check Network Connections
If you are using a wireless connection to connect your device to your printer, you may receive an error state if this connection is not active. Fortunately, on many newer printer models, you can use your printer control panel to identify your WiFi connection status.
From the control panel, select the network settings function and press “Confirm Network Settings.” This will show you the current status of your printer’s internet connection.
It is not only necessary for both your device and printer to be connected to WiFi; they must also both be connected to the same WiFi to communicate.
4. Manually Set Printer Online
Sometimes an error state can be caused by your computer rather than your printer. If your computer refuses to communicate with your printer because it believes the printer is offline, your printer will respond with an error state. You can combat this error by manually setting your printer online.
To manually set your printer online with Windows:
- Click on the “Start” button on your computer and select “Control Panel” from the list.
- In the window that appears, select “Devices and Printers” (or the equivalent menu option).
- Click on “Printer” on the top menu of the “Devices and Printers” window and select “Use Printer Online” in the drop-down menu.
To manually set your printer online with MacOS:
- In the “Apple” menu, click “System Preferences” and select “Print & Scan.”
- If a yellow light appears next to your printer’s name, double-click the icon for your printer. Click “Resume” from the window.
5. Set Your Printer as the Default Printer
Similar to the situation above, when your computer attempts to communicate with the wrong printer, the miscommunication can cause your printer to report an error state. Ensuring your printer is set as the default printer can help streamline the communication process and counteract this error state.
To manually set your printer as the default printer with Windows:
- Click on the “Start” button on your computer and select “Control Panel” from the list.
- In the window that appears, select “Devices and Printers” (or the equivalent menu option).
- Select your printer from the resulting window, and then select “Open Queue.”
- Under the “printer” drop-down, select “Set as Default Printer.”
To manually set your printer as the default printer with MacOS:
- In the “Apple” menu, click “System Preferences” and select “Print & Scan.”
- Click “Default Printer,” then select your printer as the default printer option.
6. Uninstall and Reinstall Your Printer
If the error state persists, you can always give your printer and computer a fresh start by removing the printer from your computer and then reinstalling it. This will allow the connection between your computer and printer to start from scratch so that they can hopefully avoid any errors that previously occurred.
To remove and reinstall a printer with Windows:
- Click on the “Start” button on your computer and select “Control Panel” from the list.
- In the window that appears, select “Devices and Printers” (or the equivalent menu option).
- Right-click on your printer and select “Remove device.”
- To reinstall the printer, click “Add a Printer” on the “Devices and Printers” window and follow the prompts.
To remove and reinstall a printer with MacOS:
- In the “Apple” menu, click “System Preferences” and select “Print & Scan.”
- Right-click anywhere in the “Print & Scan” window and select “Reset Printing System.” This will remove your printer from the computer.
- Once the reset is complete, select “Add Printer or Scanner” and select your printer. Follow the subsequent prompts to reinstall your computer.
7. Update or Reinstall your Printer Drivers
Companies will periodically update the drivers for their printers to ensure they continue running smoothly. If your printer is attempting to use an outdated or corrupted driver, it will not be able to respond to your requests and will prompt an error message.
You can download drivers for your printer from your manufacturer’s website. To download drivers for your printer, here are some links from some of the top brands:
- Download Driver for Canon Printer
- Download Driver for HP Printer
- Download Driver for Epson Printer
- Download Driver for Brother Printer
If the solutions above do not get your printer back online and out of its error state, most manufacturers are available for online or phone support around the clock. You can find information about most printer support centers at the links below:
For more useful printing techniques and tips, visit https://printertesting.com.

