What’s a quick way to make a report lose all professionalism or make a presentation look sloppy and incomplete? Cover it in ink smudges or track lines. After working hard on a document, the last thing you want is for your professionalism to be questioned because of a messy document.
Luckily, you don’t need to let smudging and smearing ruin your life. In the article below, we outline the main causes of printer ink and toner smudging and the solutions you can do at home to fix them.
Contents
Reasons Your Printer is Smudging or Smearing
1. Drying Time
Look at your hands. Are they covered in ink? Don’t worry- we’ve all made this mistake. If the splotching or smearing looks random or is located on the side of the page where you just placed your hand, it is likely that you simply handled the paper too soon after printing. Ink goes on the page wet and, therefore, needs time to dry.
Solution: Luckily, this issue has nothing to do with your printer. Simply reprint the page and let it sit a bit longer before you handle it. While you wait for the new page to dry, head over to How to Get Printer Ink Off Hands & Clothing to get those fingers cleaned.
2. Incorrect Paper
Your printer is designed to print on a certain type of paper. If you are trying to print on paper that is too thick or textured for your printer, it may be catching on the rollers, causing excess ink to get on the paper.
Solution: Try to print a Printer Test Page on a piece of standard 8.5”x11” paper. If the standard printer paper is smudgeless, you are likely dealing with paper that doesn’t move properly through your printer. You can consult your printer manual to see what types of paper are compatible with your printer and use one of them to print your document.
3. Dirty Printer
Are you seeing smudges in the same spot on every page you print? The problem is likely a dirty printer. No matter how fastidious you are with your cleaning, dust inevitably accumulates on hard-to-reach surfaces. Unfortunately, your printer has a lot of these areas. If you don’t use your printer regularly, dust, dried ink, and other particulates can accumulate on the rollers and ink tracks, causing the ink to consistently smudge in those locations.
Solution: Clean your printer. Turn off your printer and unplug the power cable from the wall. Then, open the access doors and thoroughly clean the printer rollers, ink tracks, and any other area that appears to be messy or dusty. Once your printer clean is complete, plug in your printer and run a Printer Test Page to see if the problem has been resolved.
Additional Reasons Your Inkjet Printer May be Smearing or Smudging
Inkjet printers print using liquid ink that is stored in ink cartridges. If the solutions above did not solve the smudging or smearing issues of your Inkjet printer, try the solutions below:
1. Dirty or Clogged Printer Heads
Are you getting long, horizontal tracks of ink across your paper? It is possible that your printer heads are dirty or clogged. When your printer head, the portion of the ink cartridge that transfers the ink to the page, is blocked by dirt or dried ink, it causes the ink to pool. The excess ink is then pulled across the page by the printer head, causing long smears of ink.
Solution: Clean the printer heads. Turn off the printer and unplug the power cord. Open the ink cartridge access door and remove the printer ink cartridges. Remove the ink cartridges from the printer and place them on a clean paper or cloth to keep ink off surfaces. Dampen a clean, lint-free cloth in warm water, and use it to gently clean the printer ink heads. Give the ink cartridges at least 15 minutes to dry before putting them back into the printer. Once you have reinstalled the ink cartridges, plugin and turn on your printer, then print a Printer Test Page to determine if the problem has been resolved.
2. Faulty or Misaligned Ink Cartridge
Have you replaced your ink cartridges recently? Printers can, unfortunately, be picky when it comes to ink cartridges. If you are using off-brand or refilled ink cartridges, there is a chance that the cartridge is faulty or incompatible with your printer. If the ink cartridge has been installed incorrectly, your printer may be having difficulty moving it successfully across the page.
Solution: Uninstall and reinstall the ink cartridges. Turn off and unplug your printer. Open the ink cartridge access door and remove the ink cartridges. Let the printer sit for five minutes, and then reinstall the ink cartridges. Make sure they are properly locked into the carriage. Turn on your computer and print a Printer Test Page to see if the problem has been resolved. If it appears that your ink cartridge is faulty, replace it with an ink cartridge made specifically for your printer and see if it resolves the issue.
Additional Reasons Your LaserJet Printer May be Smearing or Smudging
LaserJet printers use melted powder toner, rather than liquid ink, to print. If the three reasons above didn’t solve the smearing or smudging issues in your LaserJet printer, consider the following solutions:
1. Faulty Toner Cartridge
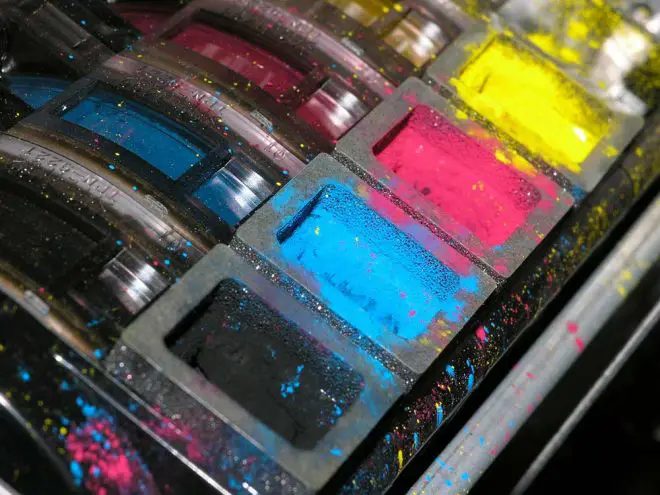
The toner cartridge stores the powdered toner. If it is leaking, it can cause excess toner to be transferred to the paper or other parts of the printer. This can cause large smudges or streaks across your paper.
Solution: If it appears that excess toner is being used during the printing process, the easiest solution is to replace your cartridge. Once your cartridge is replaced, print a Printer Test Page to see if the issue has been resolved.
2. Faulty Drum
The drum helps to apply toner to the page, and is typically located within the toner cartridge. If the drum is faulty, it will misapply the toner to the paper. This will likely result in horizontal lines of toner in the same place on each piece of paper.
Solution: Replace your toner cartridge. Unfortunately, if the toner drum is faulty, the simplest solution is to purchase a new toner cartridge. Once you install the new cartridge, print a Printer Test Page to see if the issue is resolved.
3. Faulty Fuser
The fuser generates the heat required to print with toner. If the fuser is malfunctioning and not reaching the temperature necessary for printing, the printout will look like you used the wrong toner in your printer, or may result in a splotchy toner application. This issue is most commonly seen in older Laserjet printers.
Solution: If your fuser is at fault, you will likely need to replace the fuser. Unfortunately, this is the most expensive of the causes for smearing or smudging ink. Therefore, we recommend trying the other solutions before taking your printer to a mechanic to get that fuser replaced.
If none of the above solutions prove useful, it may be time for professional assistance. Most printer manufacturers are available for online or phone support around the clock. You can find information about your printer’s support center at the links below:
For more useful printing techniques and tips, visit https://printertesting.com.

